At a glance
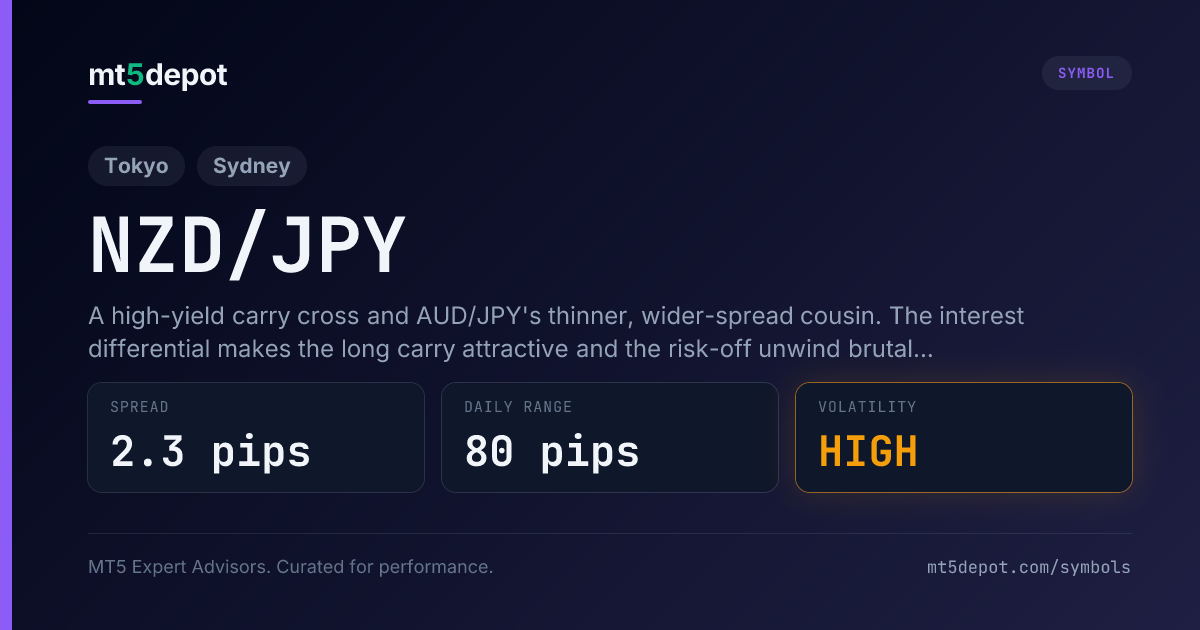
NZD/JPY · Kiwi-Yen
A high-yield carry cross and AUD/JPY's thinner, wider-spread cousin. The interest differential makes the long carry attractive and the risk-off unwind brutal; near-twin correlation with AUD/JPY means running both is one position. Its wider spread taxes anything that is not a patient trend or carry hold.
Typical values — NZD/JPY is not yet measured broker-by-broker; confirm the live spread on your own account.
Data
Trading conditions
Session windows, broker spreads, and cost math for this symbol — measured and typical values, not marketing.
EA catalogue
EAs for NZD/JPY
Why this list is empty
Our catalogue lists no NZD/JPY EA right now. An EA is listed only after it passes our tick-data backtest gate — and the numbers are published either way. Until then, build and test your own below.
- Listing is gated, not editorial — an EA reaches this page only after it passes our tick-data backtest gate.
- The numbers are published either way, including the EAs that failed the gate and were delisted.
- You can build your own NZD/JPY EA and backtest it on this symbol before anything goes live.
Analysis
NZD/JPY: the full analysis
NZD/JPY — the “Kiwi-Yen” — is a high-yield carry cross: you are long a higher-rate currency against the low-rate yen, so a long position tends to earn a positive overnight swap. That interest differential is the whole appeal and the whole hazard, because the same yield that pays you in the calm is what unwinds violently when global risk sentiment turns. The first question is not which indicator to use but whether your strategy actually wants a carry-and-risk instrument, or is merely tolerating one it was built for a calmer major.
This page covers what Kiwi-Yen gives an automated strategy that a plain major does not, the Asia-Pacific sessions that decide its results, and what its wider spread costs. It then covers the failure modes that catch systems ported from steadier pairs, and how to build and test an NZD/JPY EA when there is no off-the-shelf one to copy.
How NZD/JPY Behaves: What Kiwi-Yen Gives an EA
NZD/JPY is driven by two forces at once: the New Zealand–Japan interest differential, and the market’s appetite for risk. When traders are confident, the carry works and the pair grinds higher; when risk turns, it falls with global equities in hours. For an EA, that character reduces to three properties:
- A positive-swap long that never pays for its own downside. The yield differential means a long position typically collects a daily swap credit, which reads like free money on a slow chart. In our editorial assessment the defining feature of this pair is that the swap income never covers the risk-off drop. A single unwind can erase months of accrued carry faster than any fixed stop plan reacts. See the swap mechanics for what you are actually collecting.
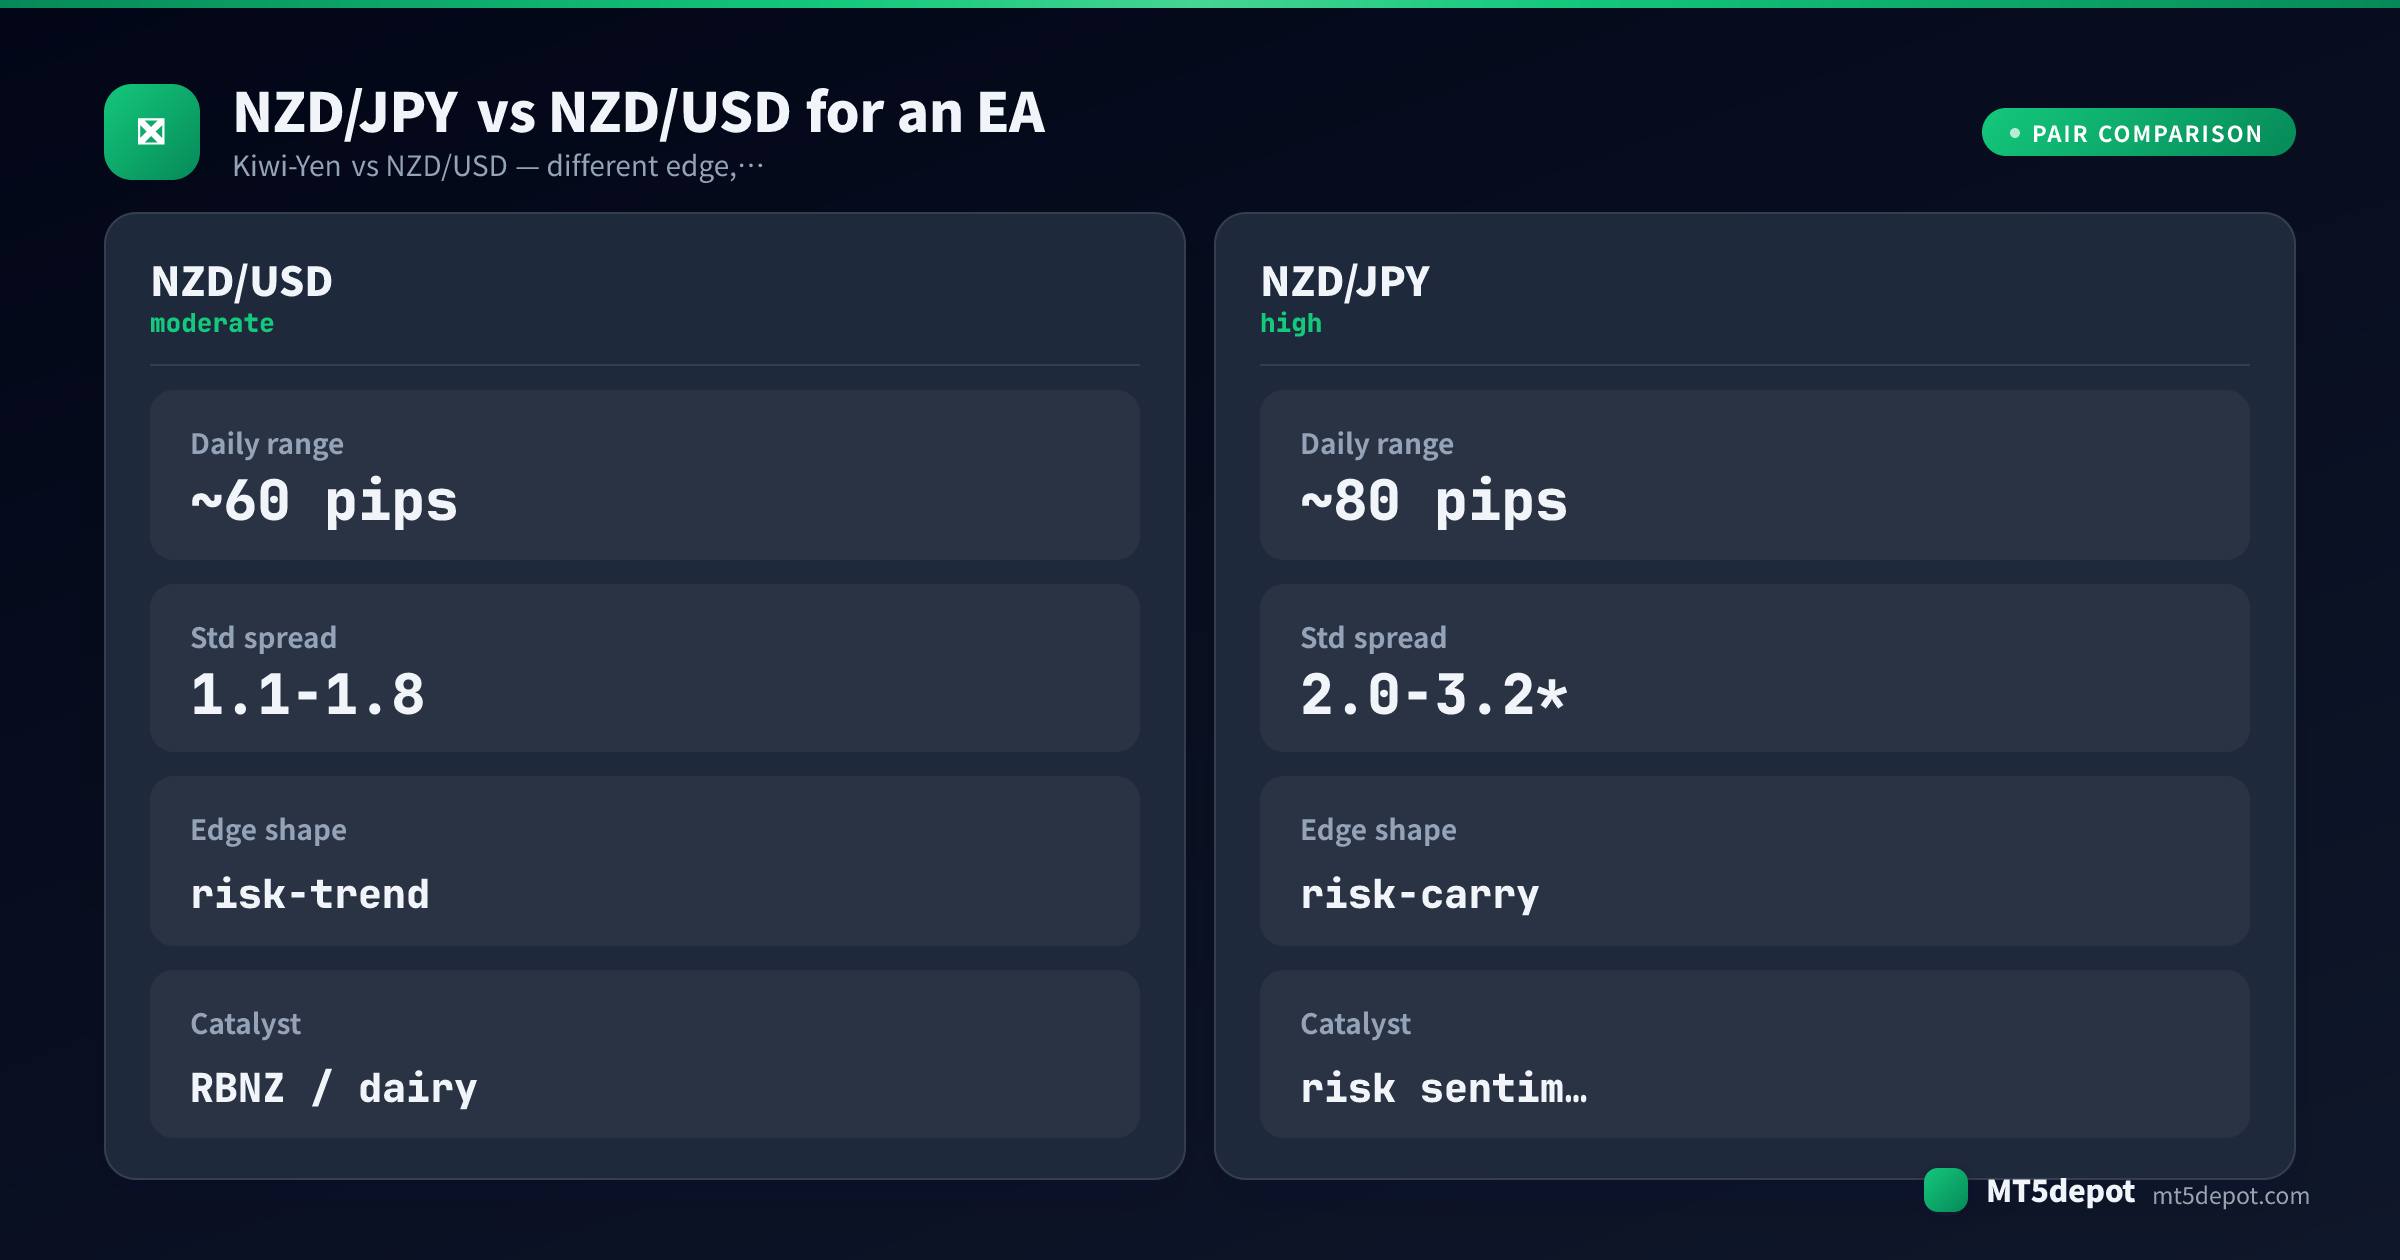
- A near-twin of AUD/JPY, with less liquidity. Kiwi-Yen and AUD/JPY move on the same risk-and-yield story and correlate so closely that they are effectively the same trade — but NZD/JPY is the thinner, less-traded of the two. That means a wider typical spread and larger off-hours gaps than its Aussie cousin, so it carries AUD/JPY’s risks with a worse cost base.
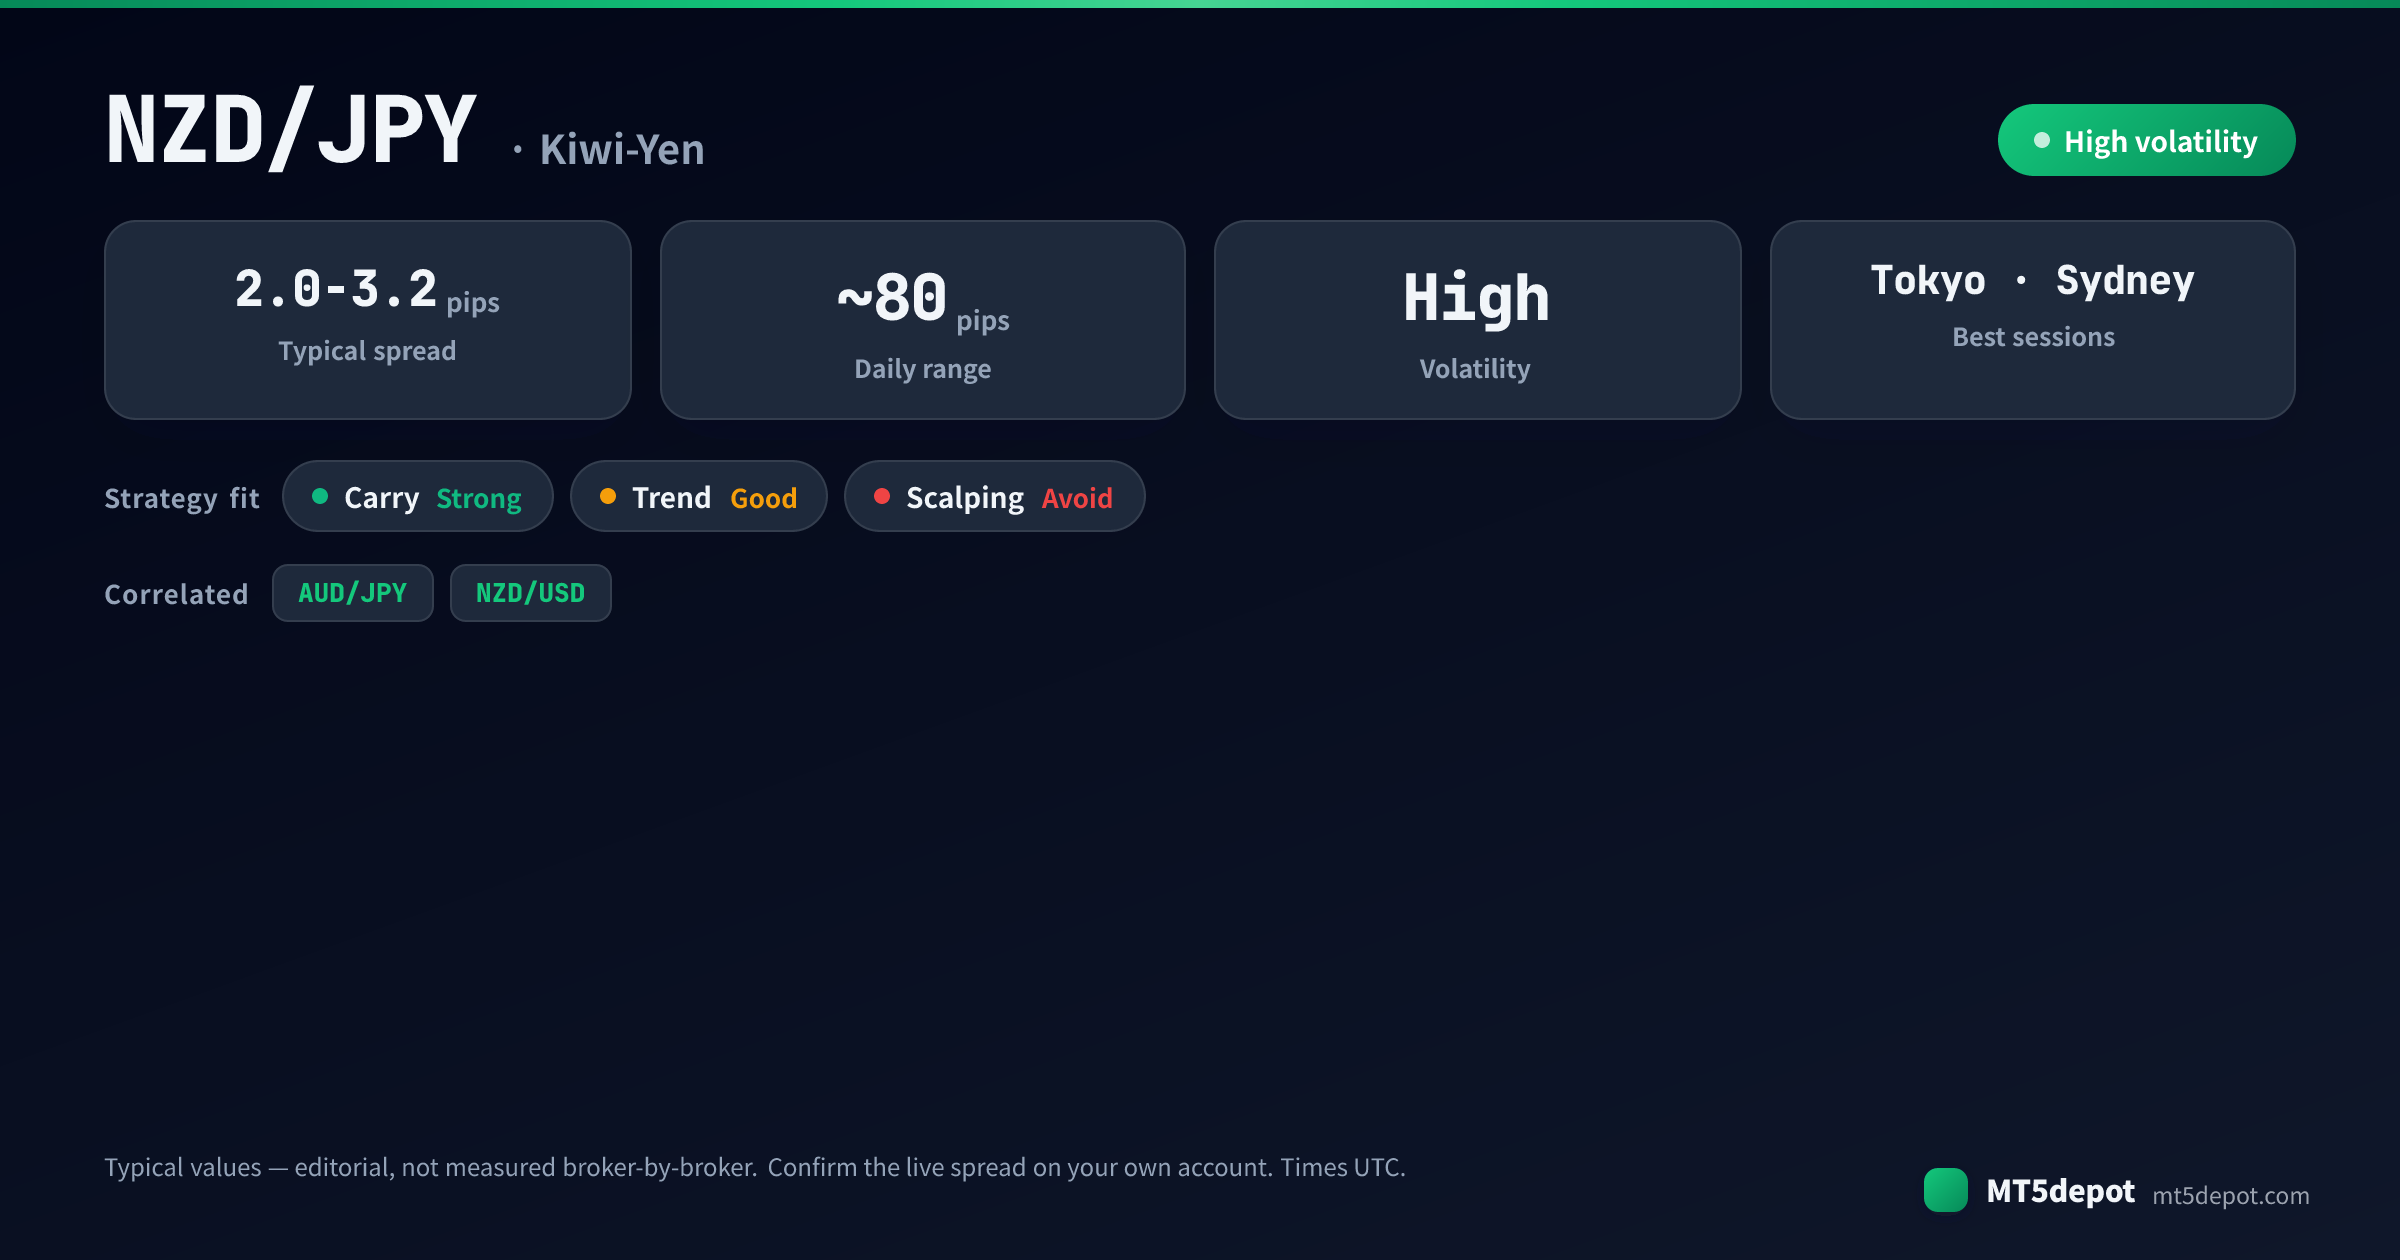
- High volatility with an asymmetric shape. The pair can trend patiently for weeks on a stable risk tone, then drop sharply on a sentiment shift. Our published typical daily range is near 80 pips — labelled typical, not measured broker-by-broker — and the character of that range is directional and burst-prone rather than evenly two-sided.
The trap for automated strategies is that a backtest run over a calm, risk-on stretch shows the carry compounding smoothly and hides the tail entirely. The equity curve looks like a slow, reliable climb right up until the one week that defines the pair — and a system tuned on the calm is sized for exactly the wrong distribution.
Which EA Strategies Suit NZD/JPY?
The pair’s profile lists trend and breakout as suitable, and its carry character adds a third slow shape — but suitability is not proof, and the wider spread rules out anything fast. What Kiwi-Yen’s character supports specifically:
| Strategy | Fit on Kiwi-Yen | Why |
|---|---|---|
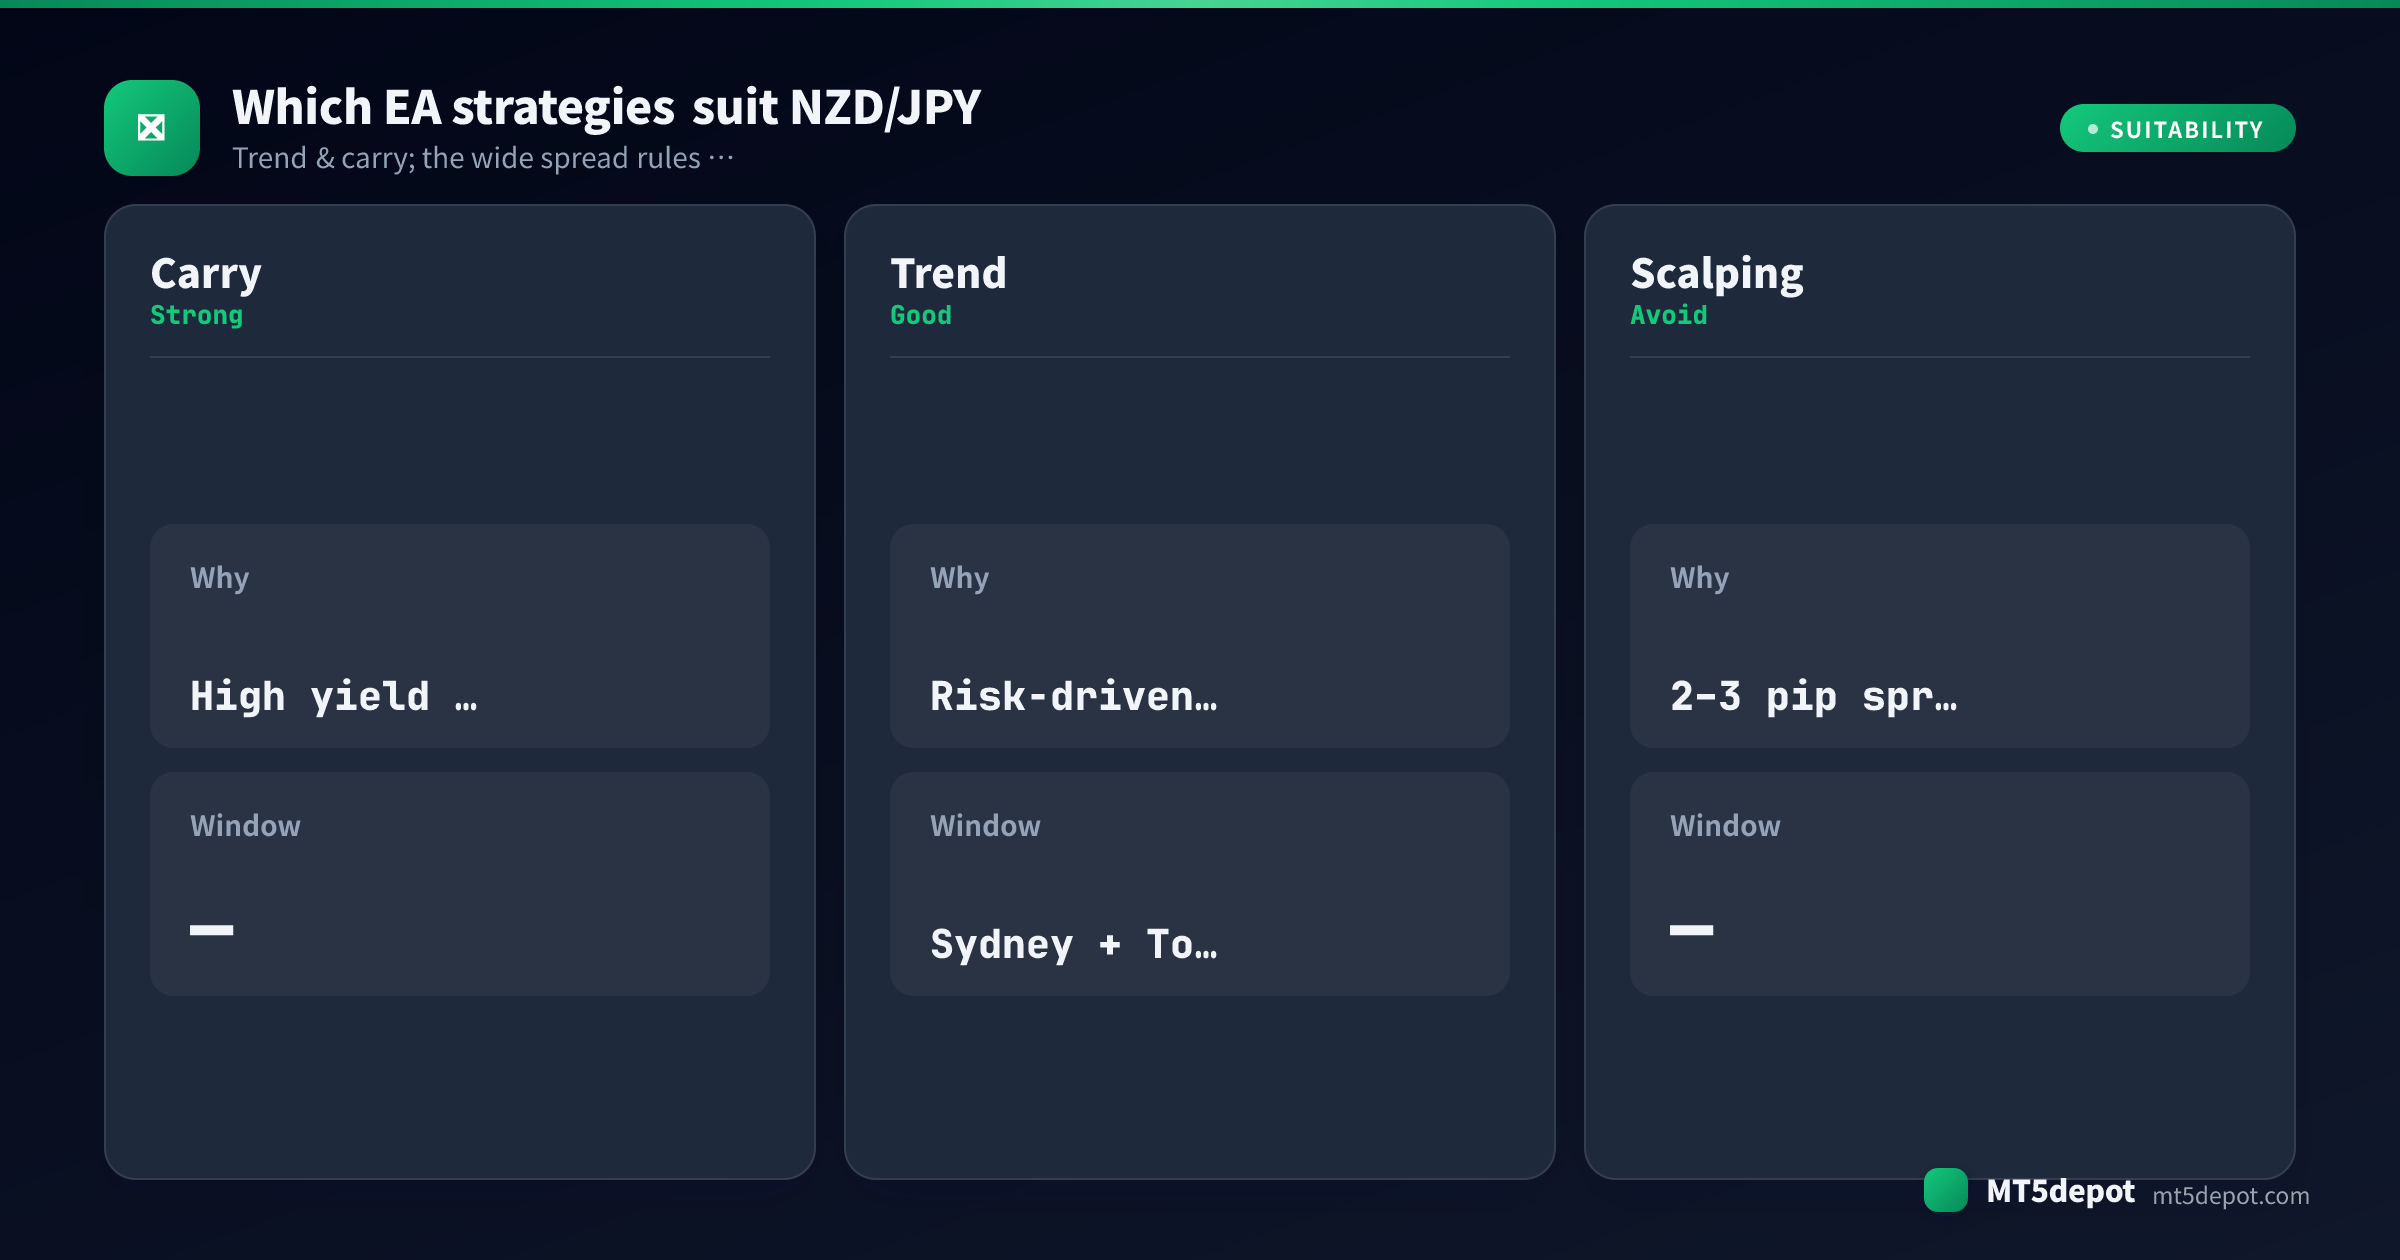
| Carry / long hold | Strong (with a caveat) | The high yield differential rewards a patient long that collects swap. But only if it is sized for the unwind, not the calm. Treat the swap as a bonus on a position you would hold on trend anyway, never as the reason to hold it. |
| Trend-following | Good | Risk-driven runs give the pair sustained directional moves that a trend EA can ride, and the Sydney–Tokyo window is where they tend to develop. This is the shape that pairs most naturally with the carry. |
| Breakout | Fair | The pair does break from consolidation on catalyst days. But the wider spread makes pending-order entries at the range edge less costly than market fills, so budget the extra width into the target. |
| Scalping / high-frequency | Avoid | A 2–3 pip typical spread is a recurring tax that a small-target strategy cannot out-earn. This is the one shape the pair’s cost base structurally defeats. |
In our editorial assessment, trend and carry-hold are the shapes that turn Kiwi-Yen’s yield and risk character into an asset; the fast strategies simply pay the spread. Because there is no NZD/JPY-specific catalogue EA yet, the practical route is to build one of these slow shapes yourself. The Builder accepts NZD/JPY and exposes every parameter. Test it (below) before you trust a single number.
Best Trading Hours for NZD/JPY EAs
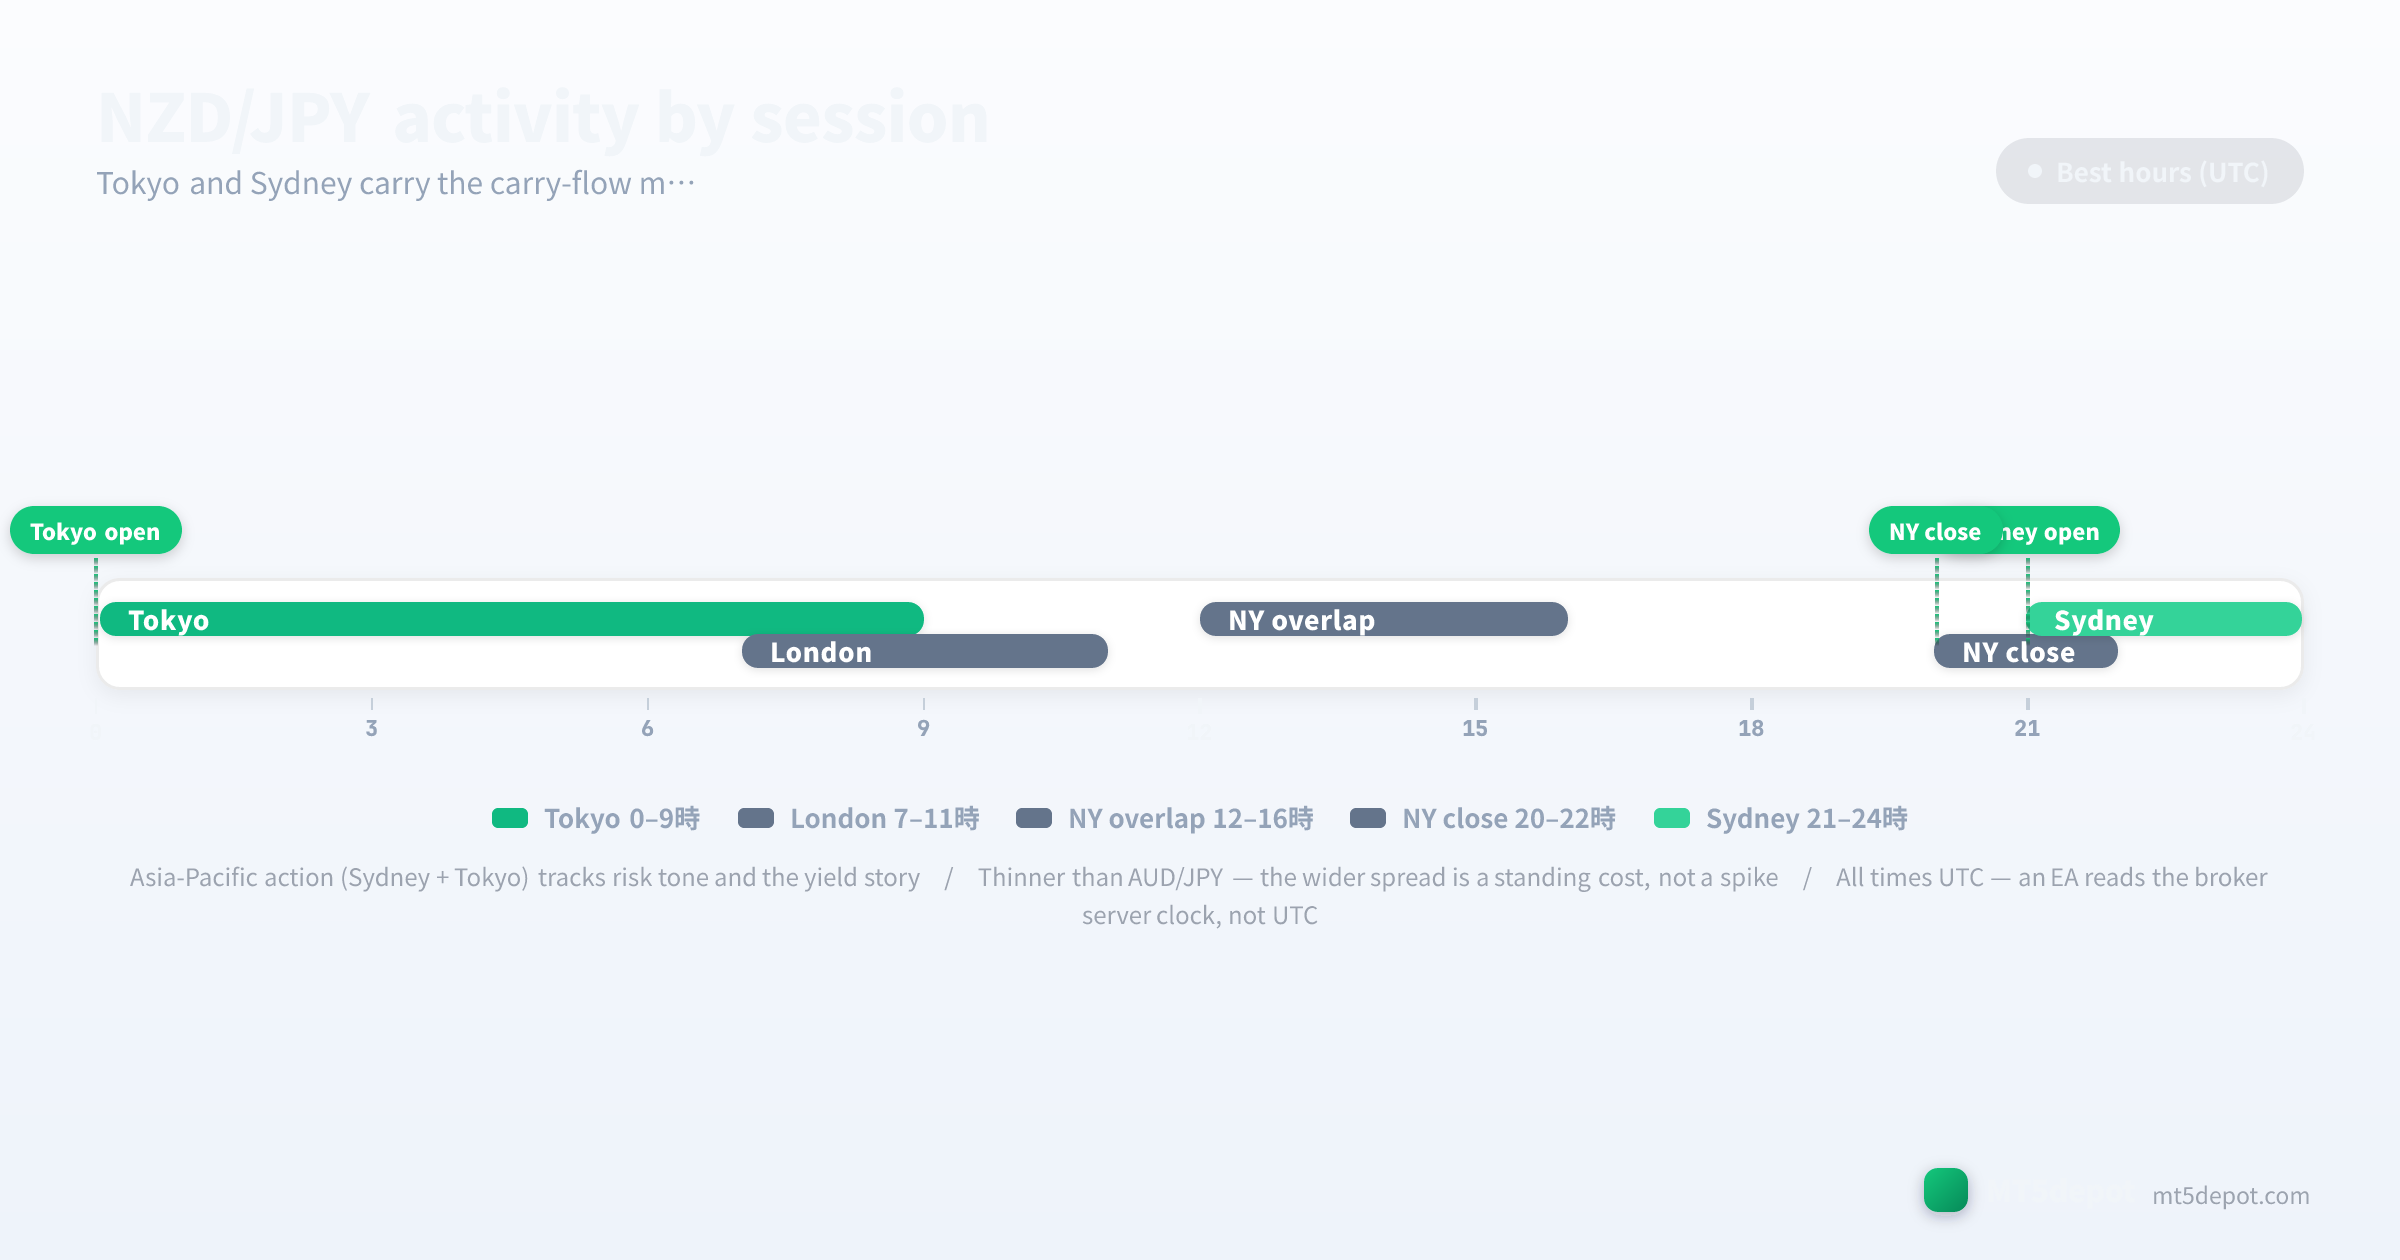
Kiwi-Yen’s active window is the Asia-Pacific block, which is unusual among the pairs most EAs are built for — its liquidity does not follow London:
- Sydney session (roughly 21:00–06:00 UTC): the pair’s home turf. Early Asia-Pacific flow reflects the day’s risk tone and the yield story, and NZ and Australian data land here. This is where carry and trend positions on the Kiwi tend to develop.
- Tokyo session (00:00–09:00 UTC): the primary liquidity window. Yen-cross flow is heaviest while Tokyo is open, so an NZD/JPY EA usually finds its cleanest entries in the Sydney–Tokyo overlap.
- London and NY hours (07:00–21:00 UTC): the pair still moves on global risk sentiment. But liquidity in the cross specifically is thinner than in Asia-Pacific, and this is when equity-driven risk-off cascades tend to hit hardest.
- The off-session edges and the weekend: low-liquidity hours print noise that traps late trend entries. And because Kiwi-Yen is thinner than AUD/JPY, weekend and off-hours gaps hit harder here, opening past a stop rather than trading through it.
In our editorial assessment, an NZD/JPY EA that restricts trading to the Sydney and Tokyo hours often avoids the worst thin-hour whipsaw. A session filter is best treated as part of the strategy definition rather than an optimisation flourish. It is a hypothesis worth testing on your own data. One clock rule governs the whole page. Every time above is UTC. But an EA reads your broker’s server clock, which is usually not UTC, so a “00:00” filter shifts silently when you move the EA between brokers on different server timezones. Verify it once in MT5’s Market Watch, and every session boundary lines up.
Spreads, Costs, and Execution
NZD/JPY is more expensive to trade than its own major cousins because it is a thinner cross. The figures below are editorial reference ranges compiled from broker-published standard and raw conditions (updated July 2026), not broker-by-broker measured numbers; our live spread sampling currently covers a handful of reference symbols. Confirm the live spread on your own account before you size a strategy:
| Account type | Typical NZD/JPY spread | Commission | Who it suits |
|---|---|---|---|
| Standard | 2.0 – 3.2 pips | none | carry holds / swing / low-frequency trend EAs |
| Raw / ECN | ≈0.7 – 1.4 pips | $3 – 7 / lot | trend EAs that still want a lower all-in cost |
Two cost rules specific to this cross:
- The wider spread is a standing tax, not a spike. On a more liquid pair you mostly pay the wider spread only around news. On Kiwi-Yen the extra width is present on every fill because the pair is thin, so it compounds against any strategy targeting small moves. That is the structural reason scalping is off the table here and carry-and-trend holds are on it — the holding period has to be long enough for the move to dwarf the spread.
- The commission is an account property, not a pair property. The same $3–7/lot raw commission applies whether you trade a major or this cross; what changes is the spread on top of it. A strategy validated at a tight all-in cost and then deployed on a live standard account at 3 pips is running a different strategy from the one you tested.
Risks to Test Before Going Live
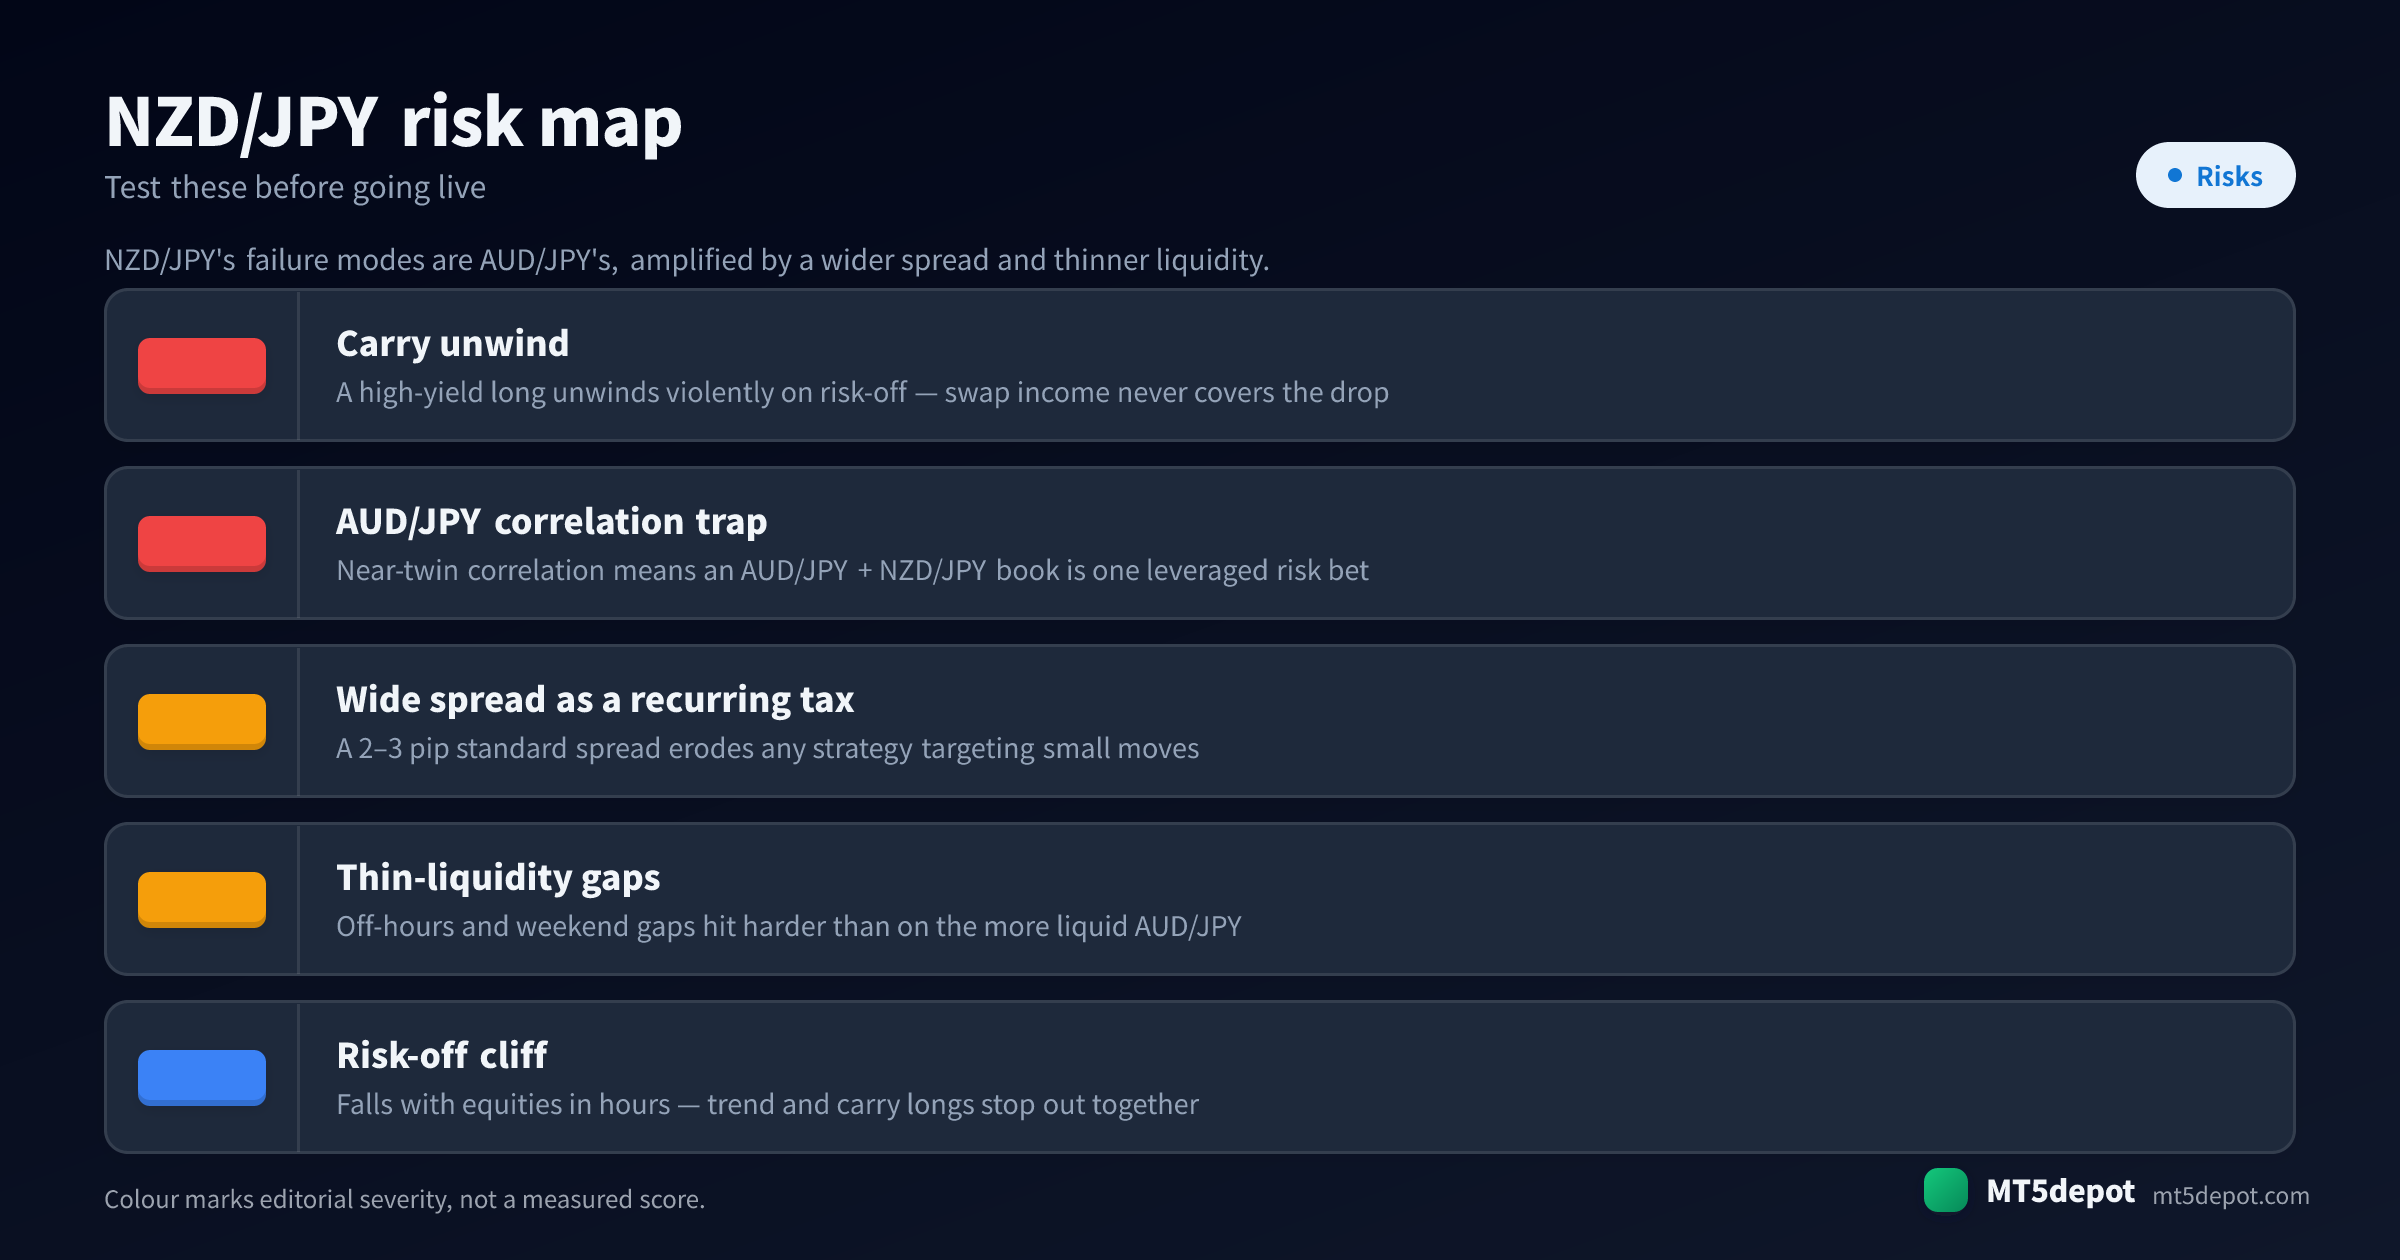
Kiwi-Yen’s failure modes are AUD/JPY’s, amplified by a wider spread and thinner liquidity — specific enough that a generic risk checklist misses them:
- The carry unwind eats the carry. A high-yield long looks free while the risk tone holds, then unwinds violently when sentiment turns, and the swap income you collected never covers the drop. The single most important change is to size the position for that unwind rather than for the calm. A stop plan tuned to the quiet range is the wrong plan for the week that matters.
- Correlation with AUD/JPY is hidden leverage. NZD/JPY and AUD/JPY are near-twins, so an EA on each is one leveraged bet on risk sentiment dressed up as a two-position book. The correlation doubles your exposure without appearing anywhere in either EA’s risk settings — never run the two side by side and call it diversification.
- The spread is a recurring tax on the whole strategy. A 2–3 pip standard spread erodes anything targeting small moves, so a strategy that backtested fine on a major can bleed to death on the same logic here. Test at the real spread, not the platform default.
- Thin-liquidity gaps hit harder than on AUD/JPY. Because the cross is less traded, off-hours and weekend gaps open further past your levels than on the more liquid Aussie-Yen, so a stop can fill well beyond where it was placed. Model gap risk explicitly rather than assuming a stop is a hard floor.
- The risk-off cliff stops trend and carry longs together. When the pair falls with equities in hours, a trend long and a carry long are the same trade taking the same loss at the same time. The volatility you were riding upward is the volatility that closes both books at once.
How to Test a NZD/JPY EA
Because there is no catalogue EA to lean on for this pair, the test is the whole edge. Hold anything you build to the same bar our catalogue EAs publish under the site’s methodology:
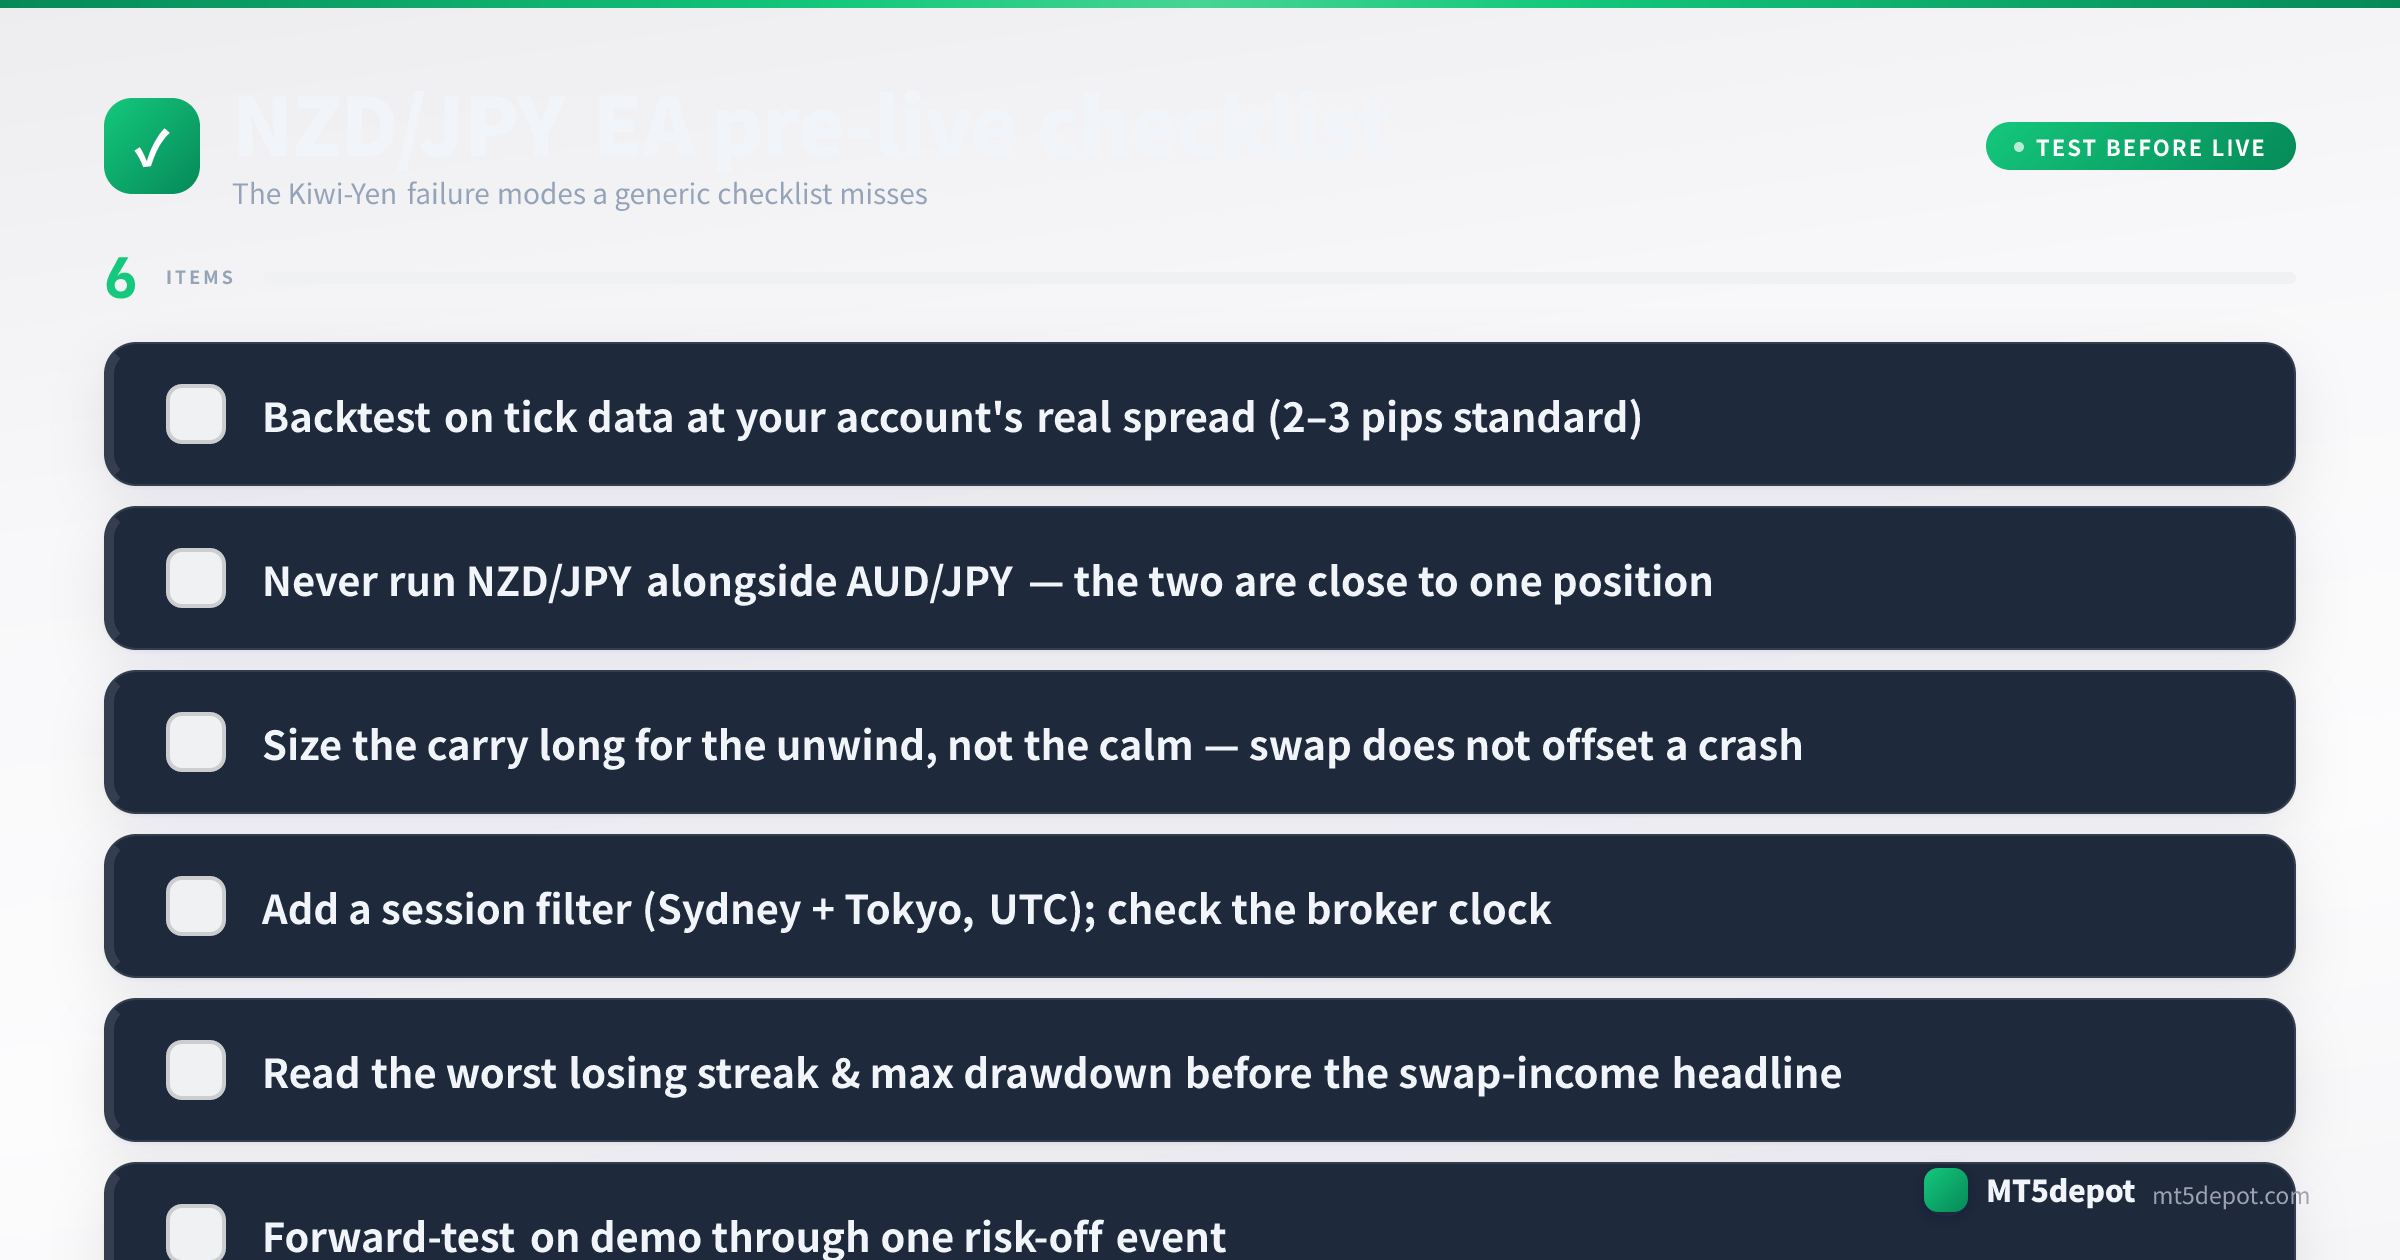
- Backtest on tick data at your account’s real spread. Use an every-tick model with the standard-or-raw spread you will actually trade (2–3 pips on a standard account), not the platform default. On a wide-spread cross this is where the typical-vs-measured gap above becomes real money — a carry EA validated at a spread it will never see is a fiction.
- Read the worst losing streak, not the swap-income headline. The daily swap credit makes the equity curve flatter and prettier than the risk warrants; the number that matters is the max drawdown through a risk-off unwind. Budget the capital and patience for the worst streak before you fund it.
- Forward-test on demo through one risk-off event. Kiwi-Yen’s defining risk only shows up when sentiment turns, so a demo window that spans only a calm, risk-on stretch has not tested the thing that decides the pair. Deliberately include a period of market stress, or at minimum an RBNZ or BoJ catalyst.
- Confirm the server clock before the first live trade. Re-check MT5’s Market Watch time against the UTC Sydney–Tokyo hours above, and re-check it again after any broker migration. That step is easy to skip and expensive to miss on an Asia-Pacific pair.
Every backtest number this produces is a historical measurement, not a forecast — say so in your own notes, and size for the drawdown you measured rather than the swap you hope to bank.
NZD/JPY EAs and Builder Templates
No dedicated NZD/JPY EA is currently listed in our catalogue. Rather than point you at a generic recommendation, the honest route to a Kiwi-Yen EA is to build and verify one.
- The Builder (open it here) accepts NZD/JPY in its trend and multi-symbol templates. The EA you deploy is built on your own numbers, and the CTA below covers exactly what it produces.
- Related-pair reference. There is no fully-backtested carry-cross EA in the catalogue. But Tidewell Slack is a JPY-cross system with a published five-year backtest. It is useful as a shape to study for how a yen-cross strategy is structured and reported, even though its pair and edge differ from a Kiwi-Yen carry.
- The concept canonicals. If a term above is unfamiliar, the swap, volatility and ATR entries define the mechanics an NZD/JPY carry-and-trend EA depends on. The broker catalogue lets you compare the spread and swap conditions that decide whether the carry is worth holding.
Frequently asked questions
- Is NZD/JPY good for carry trading with an EA?
- It is one of the higher-yield carry crosses, so a long that collects the positive swap looks attractive on paper. The catch an automated carry EA has to survive is that the risk-off unwind drops the pair faster than any months of swap income can cover, so the position must be sized for the crash rather than the calm. Treat the swap as a bonus on a trend position you would hold anyway, not as the reason to hold it.
- What is the best EA for NZD/JPY?
- No NZD/JPY-specific EA with a five-year backtest sits in our catalogue yet — our full backtests currently cover other symbols. The honest route is to build a trend or carry-hold EA in the Builder and judge it on its own numbers: read the worst losing streak and max drawdown, then validate on tick data at your own broker's spread before you trust any figure.
- Can I run NZD/JPY and AUD/JPY EAs at the same time?
- You can, but you probably should not treat it as diversification. NZD/JPY and AUD/JPY move so closely together that two EAs across them behave like one leveraged position on the same risk-sentiment bet — the correlation doubles your exposure without showing up in either EA's risk settings. If you want both, size them as a single trade, not as a hedge.
- Why is the NZD/JPY spread wider than AUD/JPY?
- NZD/JPY is the thinner, less-traded of the two yen crosses, so its typical standard spread runs wider — our published reference is 2.0–3.2 pips, labelled typical rather than measured broker-by-broker. That gap is a standing cost you pay on every trade, not an occasional spike, which is why fast, small-target strategies struggle here more than on the more liquid AUD/JPY.
- Which sessions are best for an NZD/JPY EA?
- The Asia-Pacific window: the Sydney and Tokyo hours carry most of the risk-tone and yield-story flow that drives the Kiwi-Yen. Liquidity thins outside those hours, so off-session entries face wider spreads and low-liquidity whipsaw. Set any session filter in UTC and confirm it against your broker's server clock, which is usually not UTC.
Related symbols
Related articles
Glossary